
I had a ton of leftover battery operated votive candles from my wedding and was looking for something fun and festive to do with them. Solution: make these adorable little Jack-o’-lanterns that are perfectly sized for one battery operated votive candle and fit perfectly in the palm of your hand!
Supplies needed:
- Jack-o’-Lantern SVG File
- Cricut Design Space
- Cricut Explore
- Card stock in green and orange (or go crazy with other colors!)
- Battery operated votive candles (I bought mine on Amazon)
- Hot glue to assemble
Step 1: Download the .SVG file
- Download the .SVG file: https://levy-labs.com/wp-content/uploads/2016/10/PumpkinCard.svg
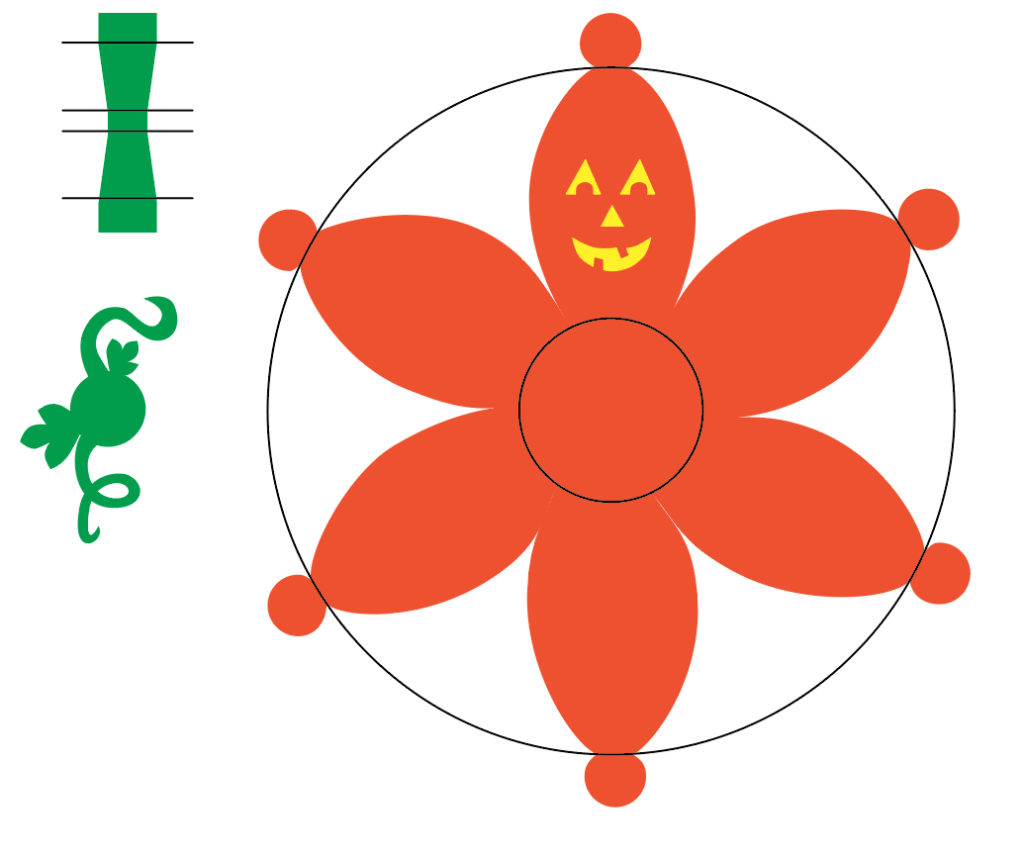
- The file looks like this when opened in Adobe Illustrator:
Step 2: Import the SVG into Cricut Design Space
- Start a new project in the Cricut Design Space.
- To import the SVG select “Upload Images” then click the “Upload Image” button and navigate to where you saved the SVG (probably in your downloads folder).
- When you first import the SVG into Cricut Design Space it will look like this:
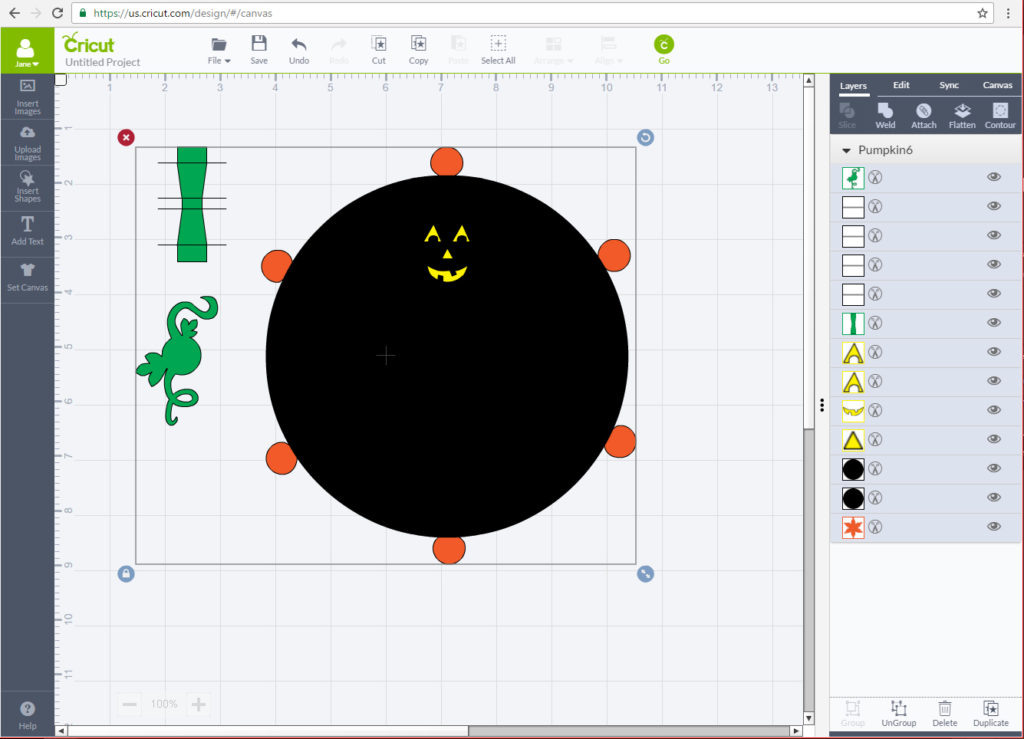
NOTE: It’s not quite ready to send to your Cricut, we need to change a few things first!
Step 3: Ungroup the .SVG layers
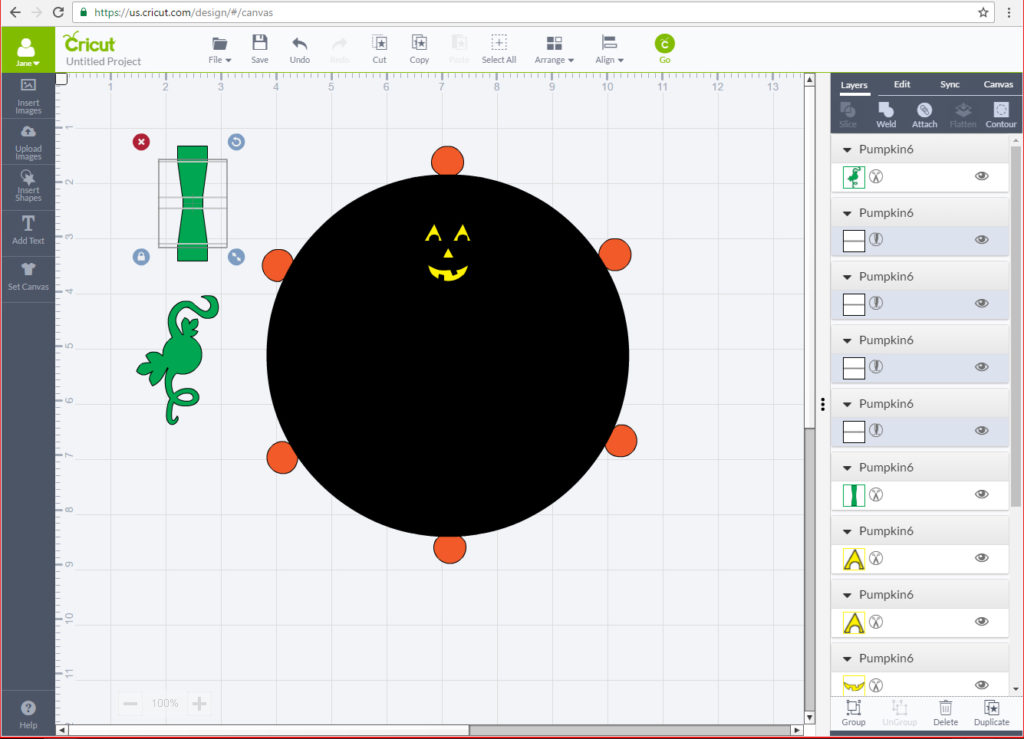
- When you imported the .SVG all of the layers are in one group. To make any changes we need to ungroup them so we can work with each layer individually.
- NOTE: Once you ungroup these layers, be careful not to move any layer on accident!
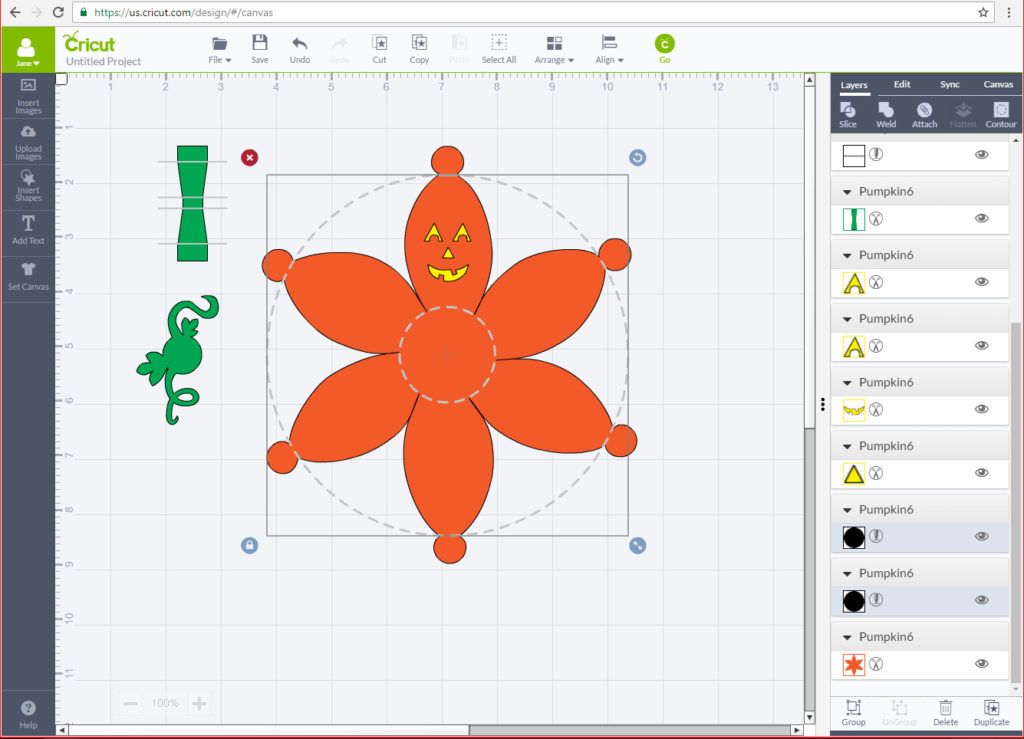
Step 4: Change everything black from a cut layer to a score layer
-
To make it easier to assemble the jack-o’-lantern I included some layers that are intended to be score lines, not cuts. To make them easier to spot I made them black.
-
Follow this list to make sure you don’t miss any:
- The Pumpkin stem has 4 horizontal lines going through it that should be score lines. You can see them here:
2. The Jack-o’-lantern’s body has 2 circles that should be score lines. You can see them selected here:
Step 5: Change the Jack-o’-Lantern’s face (Optional)
- I made each of the face pieces a separate layer, so if you want to change anything on the face now is the time! Delete these layers, add your own, turn that smile upside down, whatever crazy thing you want to do!
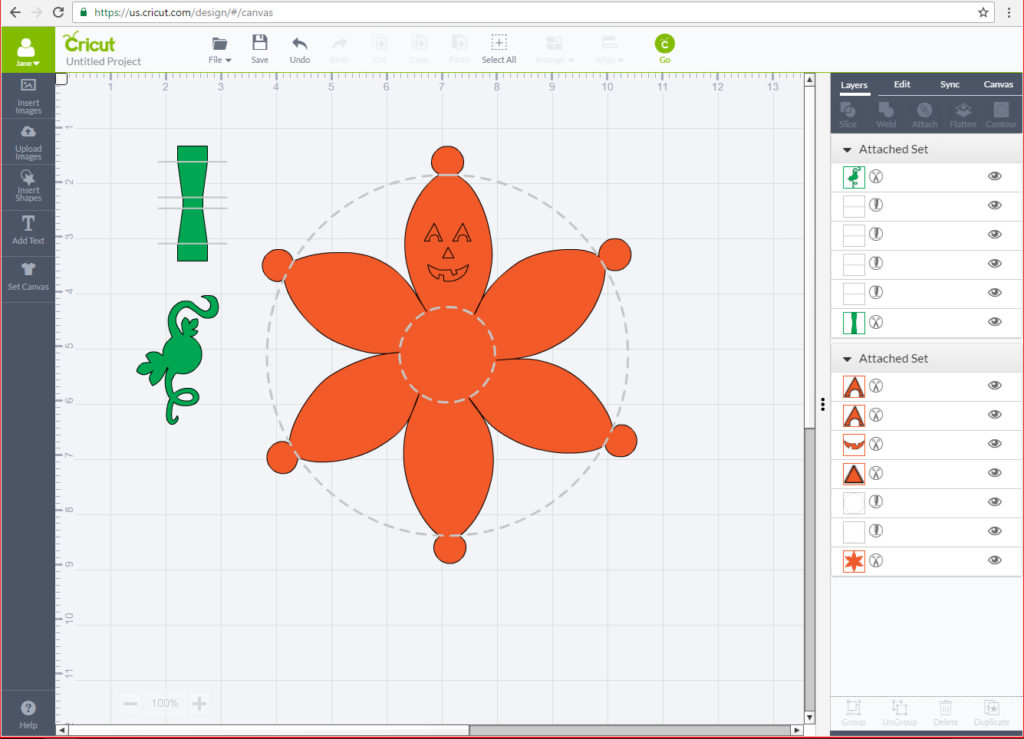
Step 6: Attach the layers by paper color
- Now you’re almost ready to cut! Let’s attach all the pieces that will be on the orange paper together, then attach all the pieces that will be on the green paper together.
- It should look something like this when you’re done:
Step 7: Time to cut!
- Let’s send this pumpkin to cut now! Turn on your Cricut, press Go, Put your paper on your mat and let’s get to this!
NOTE: You’ll be using two different sheets of paper if you followed this tutorial exactly, a green for the stem pieces and orange for the body.
Step 8: Assemble the jack-o’-lantern
- Assemble the body of the jack-o’-lantern starting with the piece just to the left of the face and working clockwise around, attaching the face last.
NOTE: When you only have two pieces left to glue, insert your battery operated votive candle and turn it on, You may not be able to turn it off once you put it in there.
- Assemble the stem by folding on the score lines and then gluing the two edge pieces together, one on top of the other, to make a loop.
- Glue the leafy piece to the top of the jack-o’-lantern’s body, then glue the stem on top of that.
- When you’re all done it should look like this:
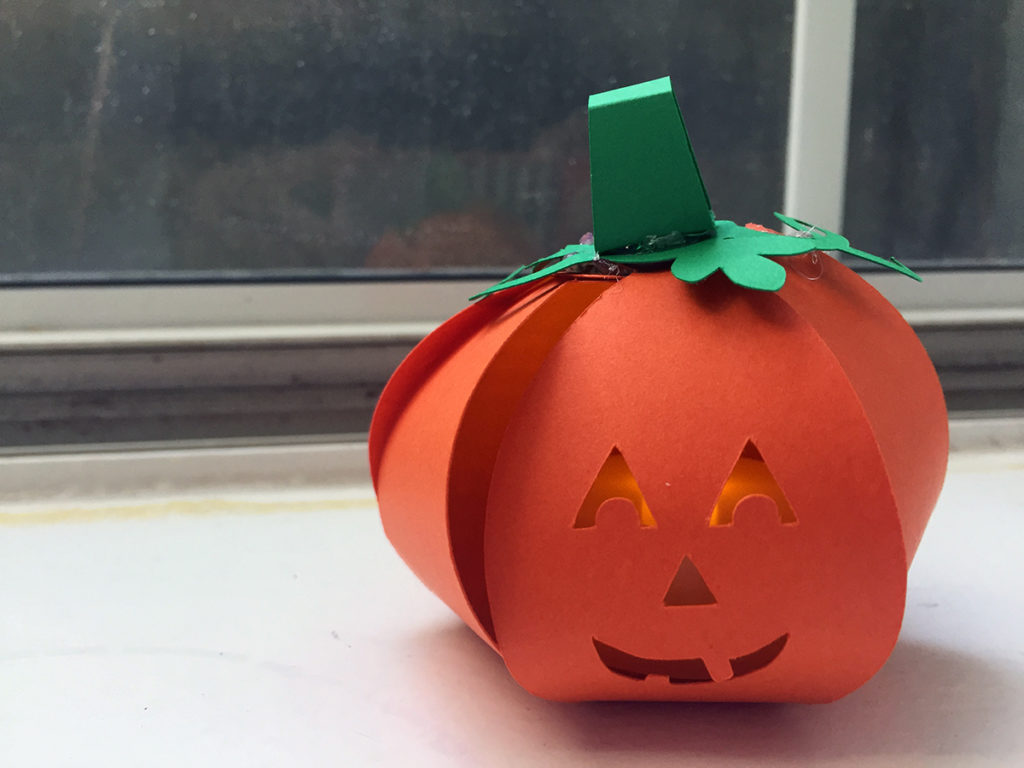
Paper Jack-o’-Lantern: Cricut tutorial with SVG file!
Like what you made here! Very creative and clever. I’d love to see more of your ideas!