
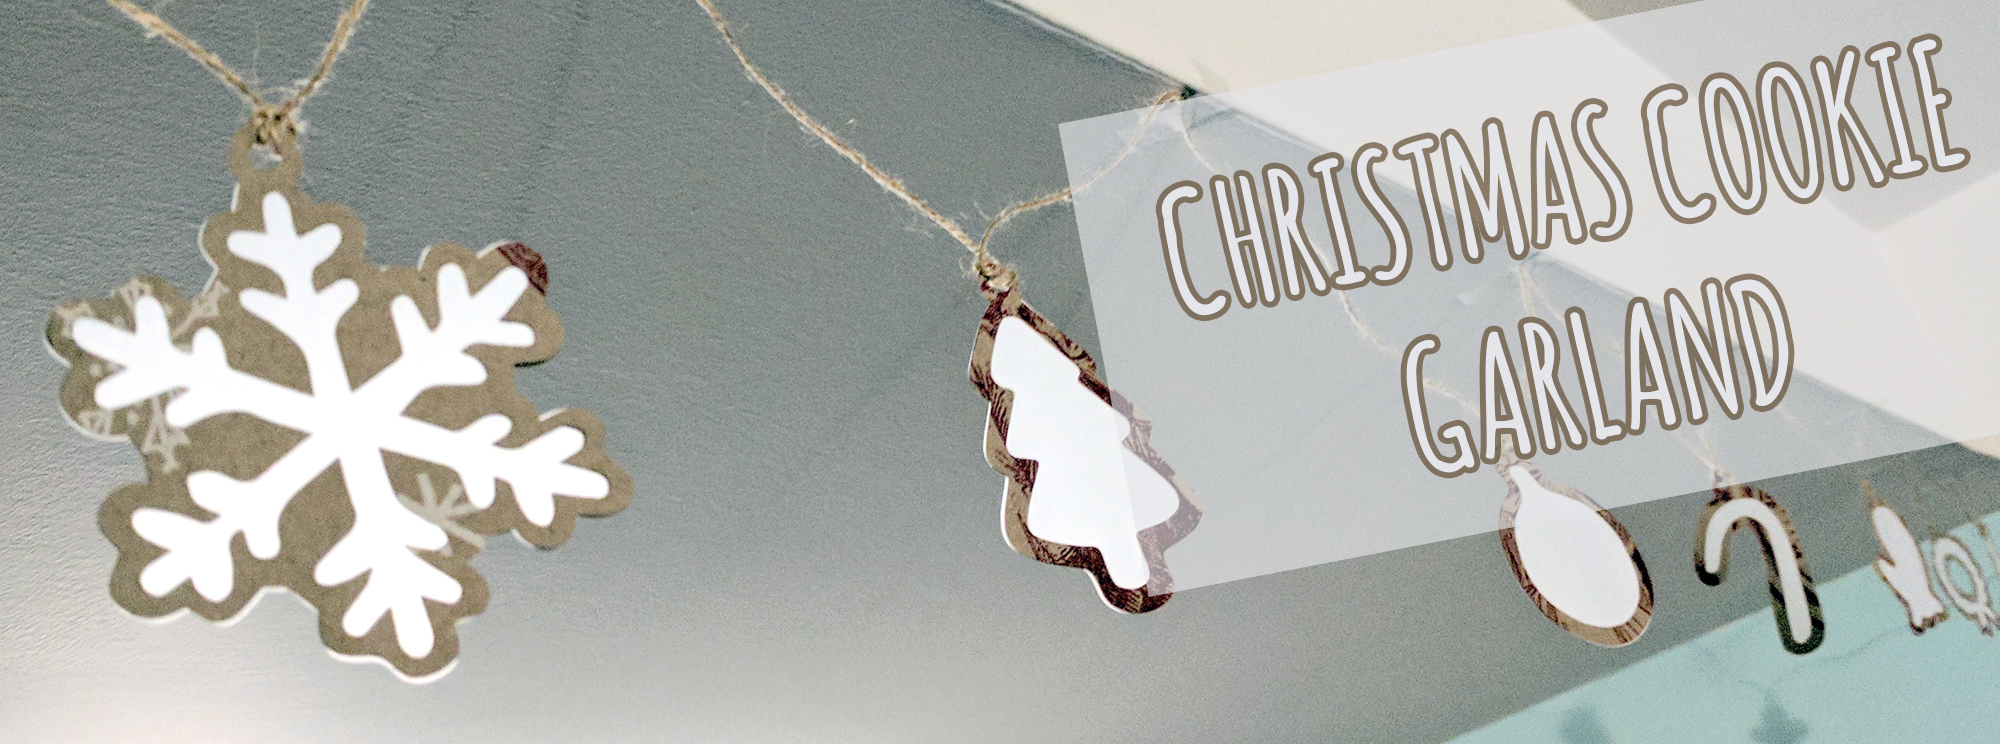
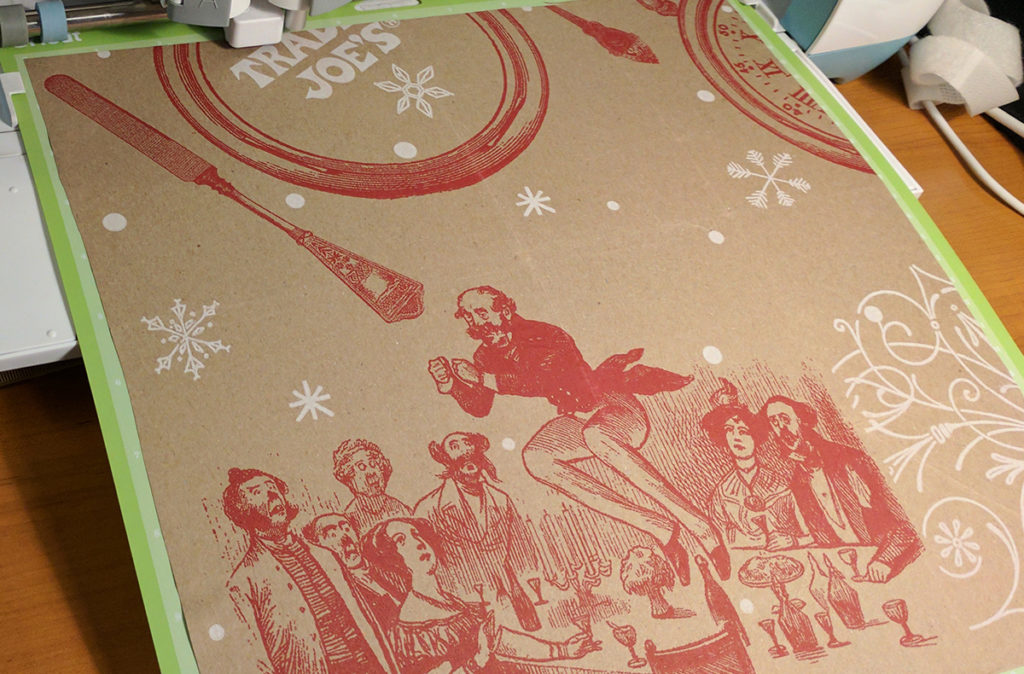
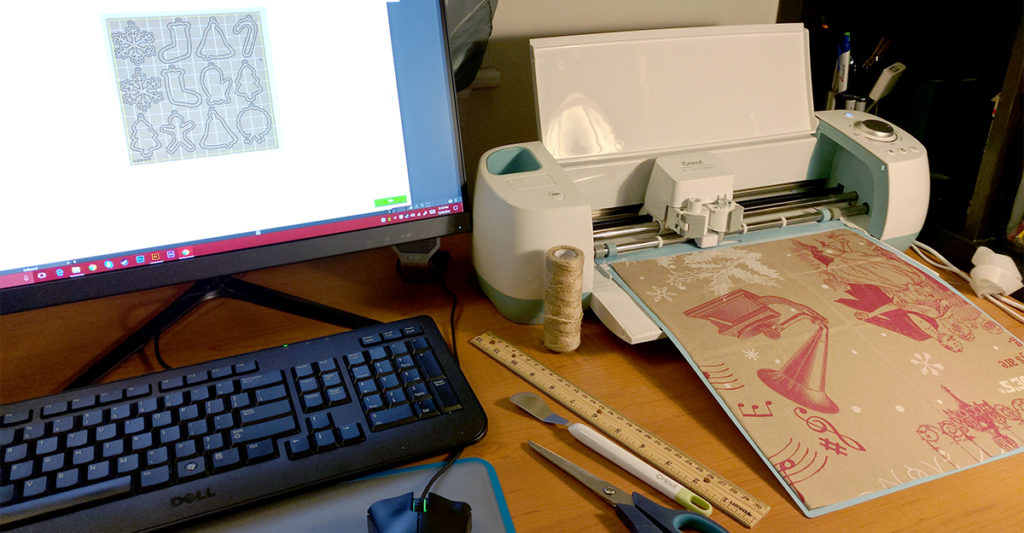
I’ve been wanting to make something out of the holiday Trader Joe’s bags for a while now. They’re just so fun and festive and the perfect paper to cut with my Cricut! Seriously, how cute is this paper?!
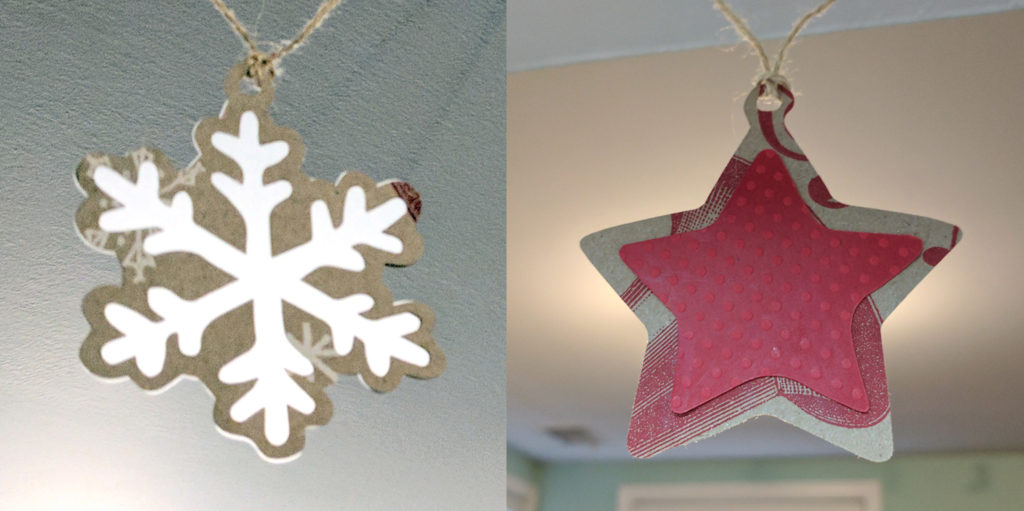
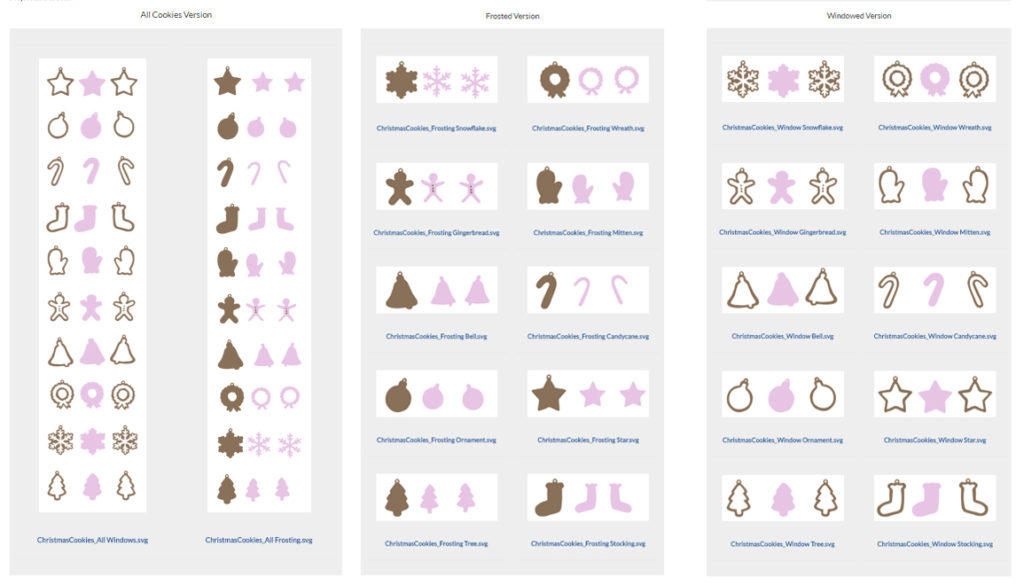
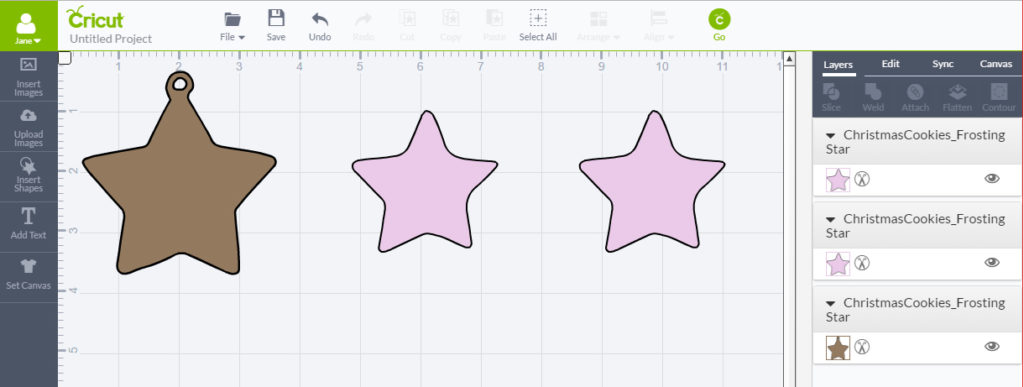
So I designed ten different Christmas Cookie SVGs in two different ways; one that has a window through it, the other that’s solid, so it’s more like a frosted cookie.
I wanted these to look good from both sides, so there’s a frosting cut out for both sides, and the windowed design has a window on each side.
Here’s a quick tutorial for how to make this as a garland
Supplies:
- Download Christmas Cookie SVGs from here: https://levy-labs.com/downloads/
- Cricut and cutting mat
- Trader Joes bags (or other cardstock if you prefer!)
- Vellum (for the windowed version)
- Decorative paper (for the frosting version, I love polka dots!)
- String
- Glue stick
STEP 1: Download SVGs
Download the SVGs from my downloads page here.
Grab individual cookies you like, or the whole set at once!
STEP 2: Resize in Cricut Design Space
I resized my ornaments to about 3 inches wide, but you could really make these at any size you like!
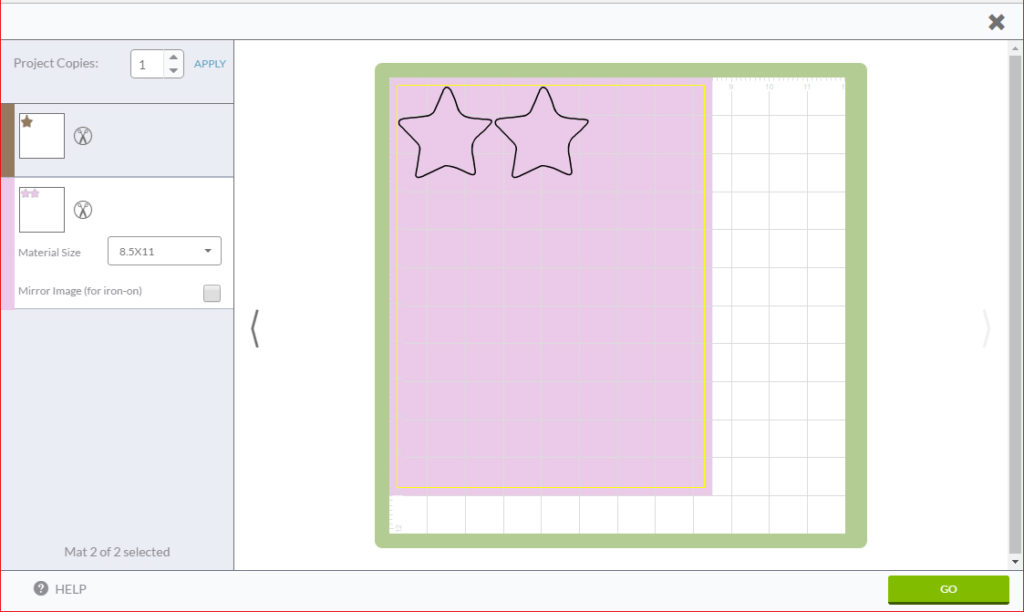
STEP 3: Cut!
There’s really little setup, the colors from the SVG should already have different paper colors selected, so you just have to make sure you choose the color you want for each one as it cuts!
STEP 4: Glue!
If anyone can tell me how to use a glue stick and not get sticky fingers every time, you would be my hero!
Assemble the windowed version with the two windows on the outside and the vellum in the middle. Here’s a shot of my crazy workspace as I assembled them:
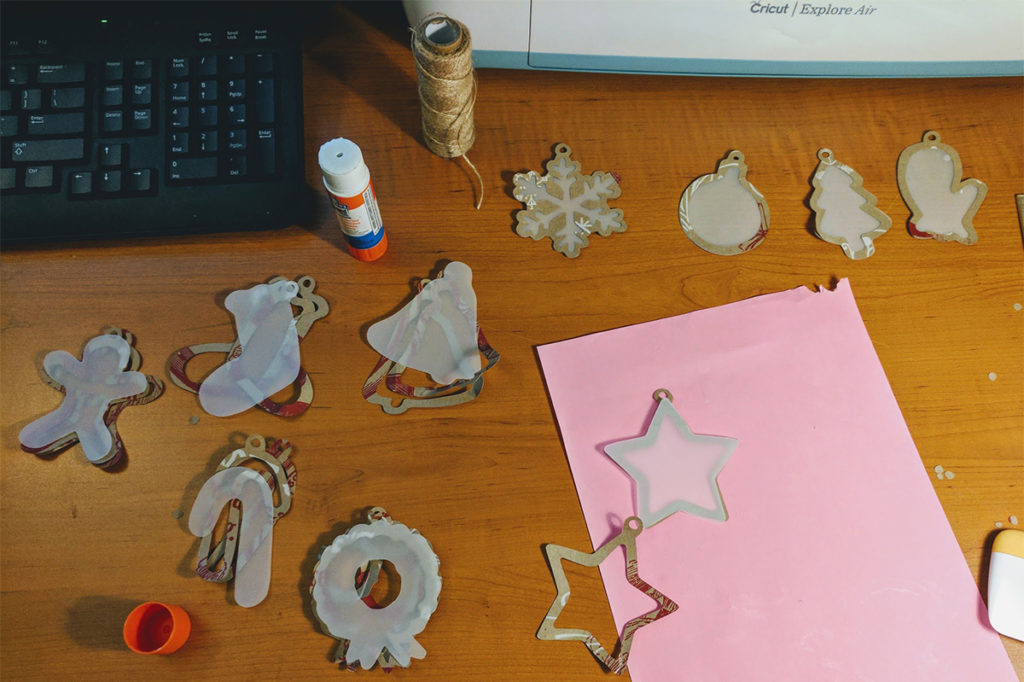
And the frosted version assemble with the largest shape in the middle, and each smaller “frosting” version on each side of the cookie:
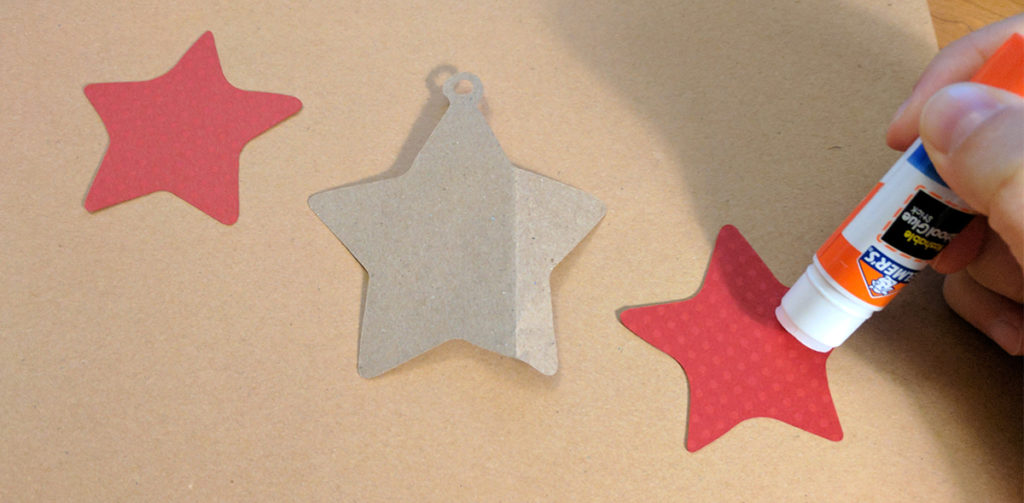
NOTE: I made these not perfectly symmetrical so that they might look a little more like homemade cookies, just be careful you’re lining up the right sides when you assemble them. The frosting version is a little more forgiving than the windowed one if you mix them up.
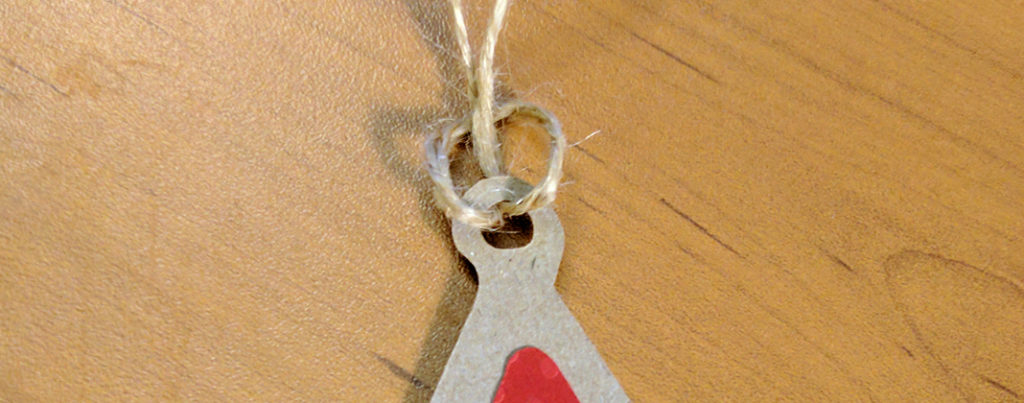
STEP 5: String together
I used a knot that is a little annoying to make since you have to pull the whole strand through every time for a new knot, but this way the cookies will hang facing forward instead of sideways.
NOTE: if you want to make ornaments, just follow all the directions until you reach the part where I string them together. Instead add loops of strings using the same kind of knot.
STEP 6: Hang them anywhere to make your home just a little more festive!
Wow these are so awesome! Thanks for sharing these.